How to Create Realistic Lighting with Prompts
Learn how to use ReRoom prompts to adjust realistic lighting for architectural and interior scenes, from overcast daylight to golden hour and warm interior light.
Why lighting prompts matter
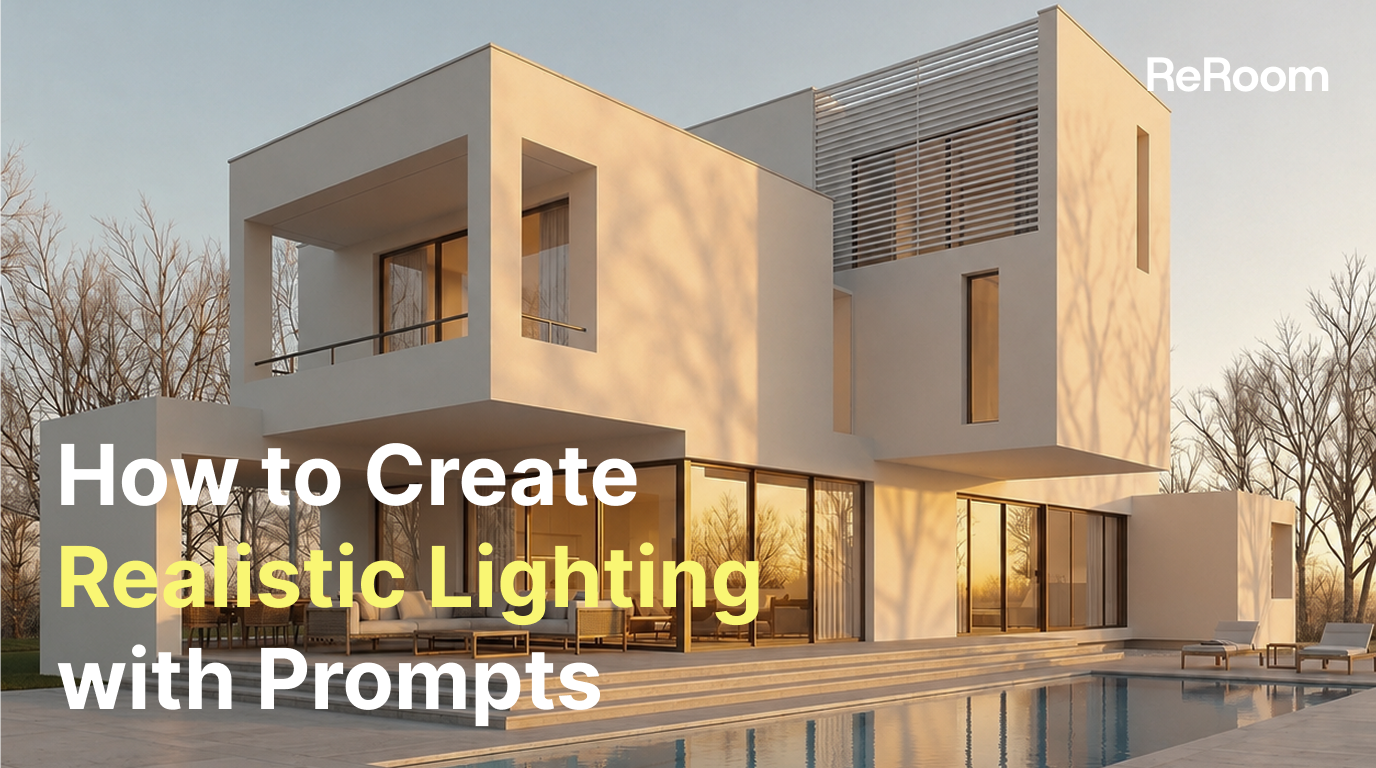
In an architectural or interior AI rendering workflow, we often start with a clean and minimal base scene. The structure, material direction, and composition may already be clear, but the image can still feel less realistic if the lighting is not defined properly.
In this tutorial, we’ll use ReRoom to adjust the lighting of a simple architectural or interior scene through prompts. Instead of redesigning the space, we will focus on how lighting descriptions affect material texture, shadows, reflections, and atmosphere.
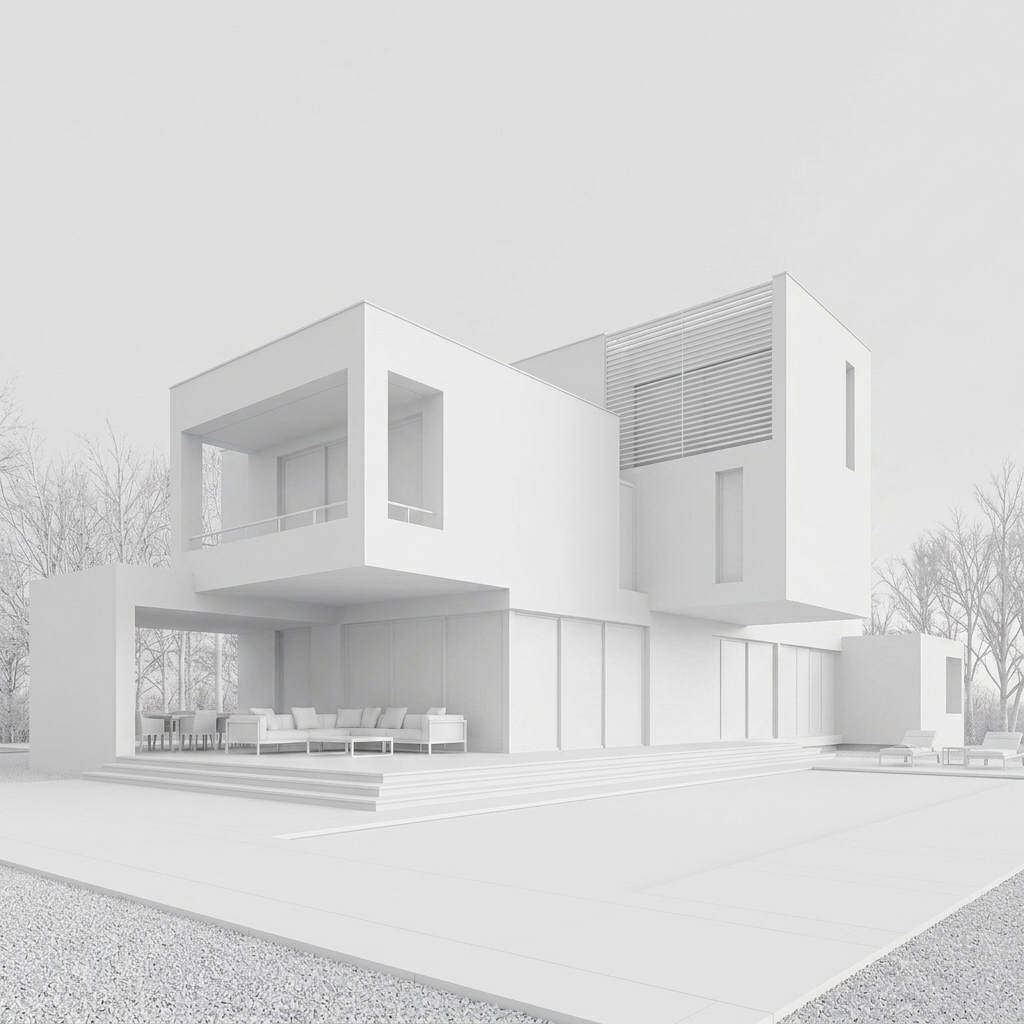 Figure 01. Starting from a clean base scene while preserving the original composition
The key is not to simply write bright, realistic, or beautiful lighting. These words are too general. They may make the image brighter, but they do not always create the right shadow direction, material reflection, or spatial depth.
Step 1 — Log in and prepare your base image
First, log in to ReRoom and prepare the image you want to improve.
This can be a simple architectural exterior, an interior scene, or a clean design render that already has a clear structure. The image should have a readable composition, visible materials, and enough spatial depth for lighting to affect the result.
Before writing the first prompt, check whether the original design should stay unchanged. If the goal is only to adjust lighting, the prompt should clearly protect the original structure.
preserve the original building structure, keep the same camera angle, do not change facade design, only adjust lighting and atmosphereThis instruction helps reduce unwanted changes to the design while allowing ReRoom to focus on light, shadow, and mood.
Step 2 — Go to Home and upload the image
After logging in, go to the ReRoom home page and upload your base image.
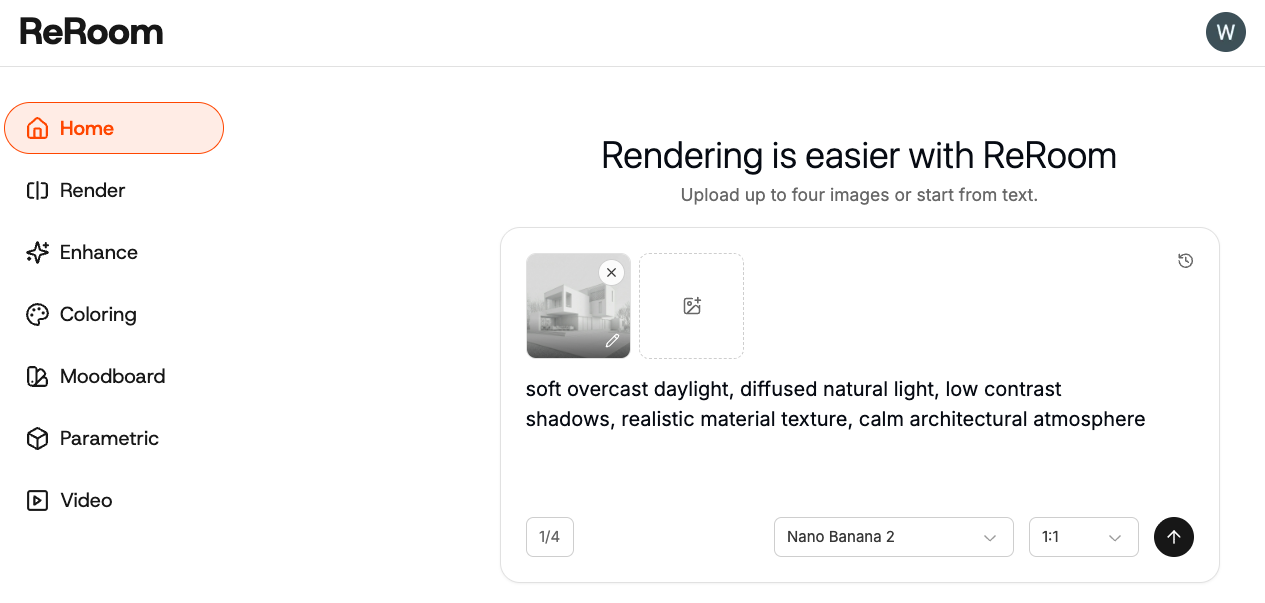
Use the uploaded image as the main reference. The goal is to keep the existing design, then test different lighting conditions through prompts.
At this stage, avoid adding too many unrelated design instructions. If the prompt asks for new materials, new furniture, new landscaping, and new lighting at the same time, the output may change too much.
Step 3 — Try soft overcast daylight
The first lighting setup we often test is soft overcast daylight.
Overcast lighting has low contrast and soft shadows. It is useful when you want to check whether the building massing, material color, and overall image structure are stable.
soft overcast daylight, diffused natural light, low contrast shadows, realistic material texture, calm architectural atmosphere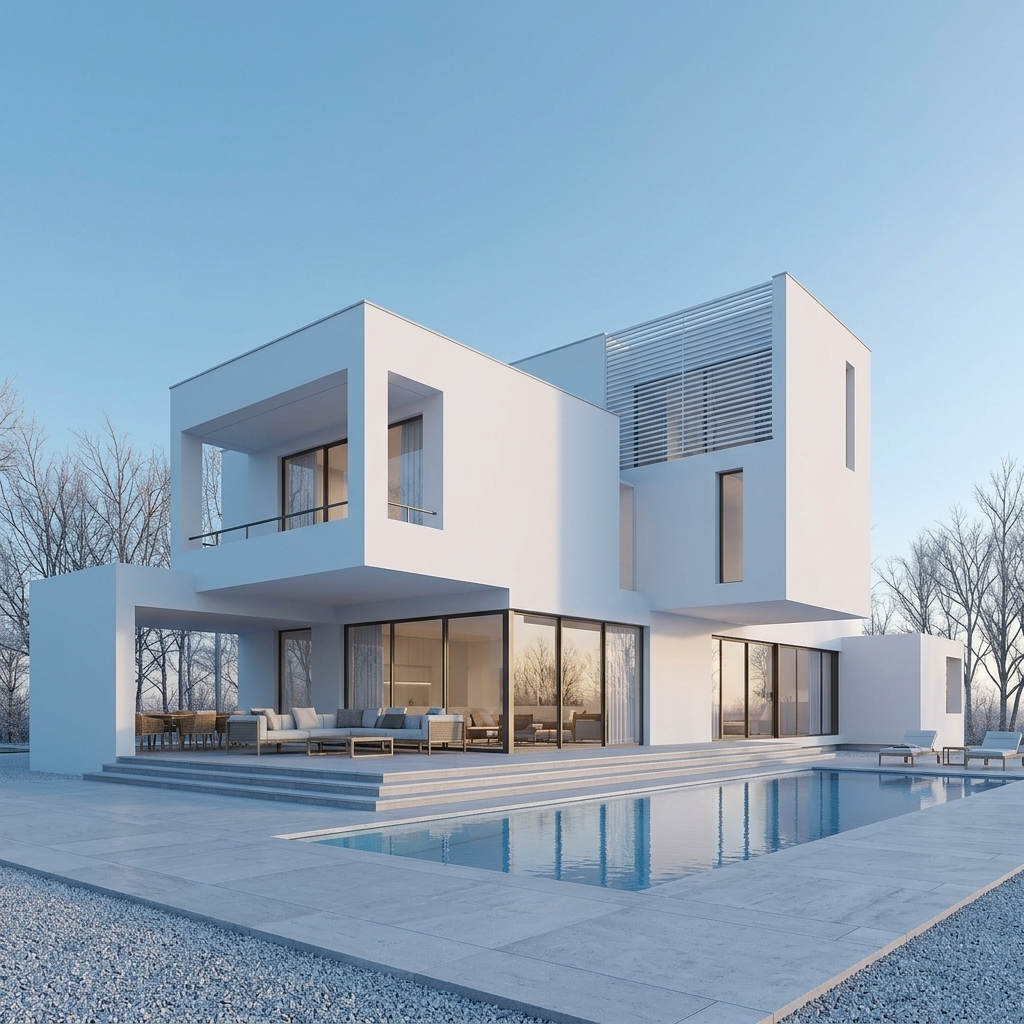 Figure 02. Soft overcast daylight keeps the image stable and reduces harsh contrast
This lighting works well for early-stage proposals because it does not make any part of the image overly dramatic. Walls, glass, wood, and stone are usually easier to read under this light.
The limitation is that the image can become too flat. If the scene does not already have strong composition or depth, soft overcast daylight may look clean but less memorable.
Step 4 — Try golden hour sunlight
The second lighting setup is golden hour sunlight.
Golden hour lighting creates a warmer color temperature, stronger direction, and longer shadows. It is useful when you want to create a stronger emotional tone or make the facade feel more dimensional.
golden hour sunlight, warm directional light, long soft shadows, realistic reflections, cinematic architectural mood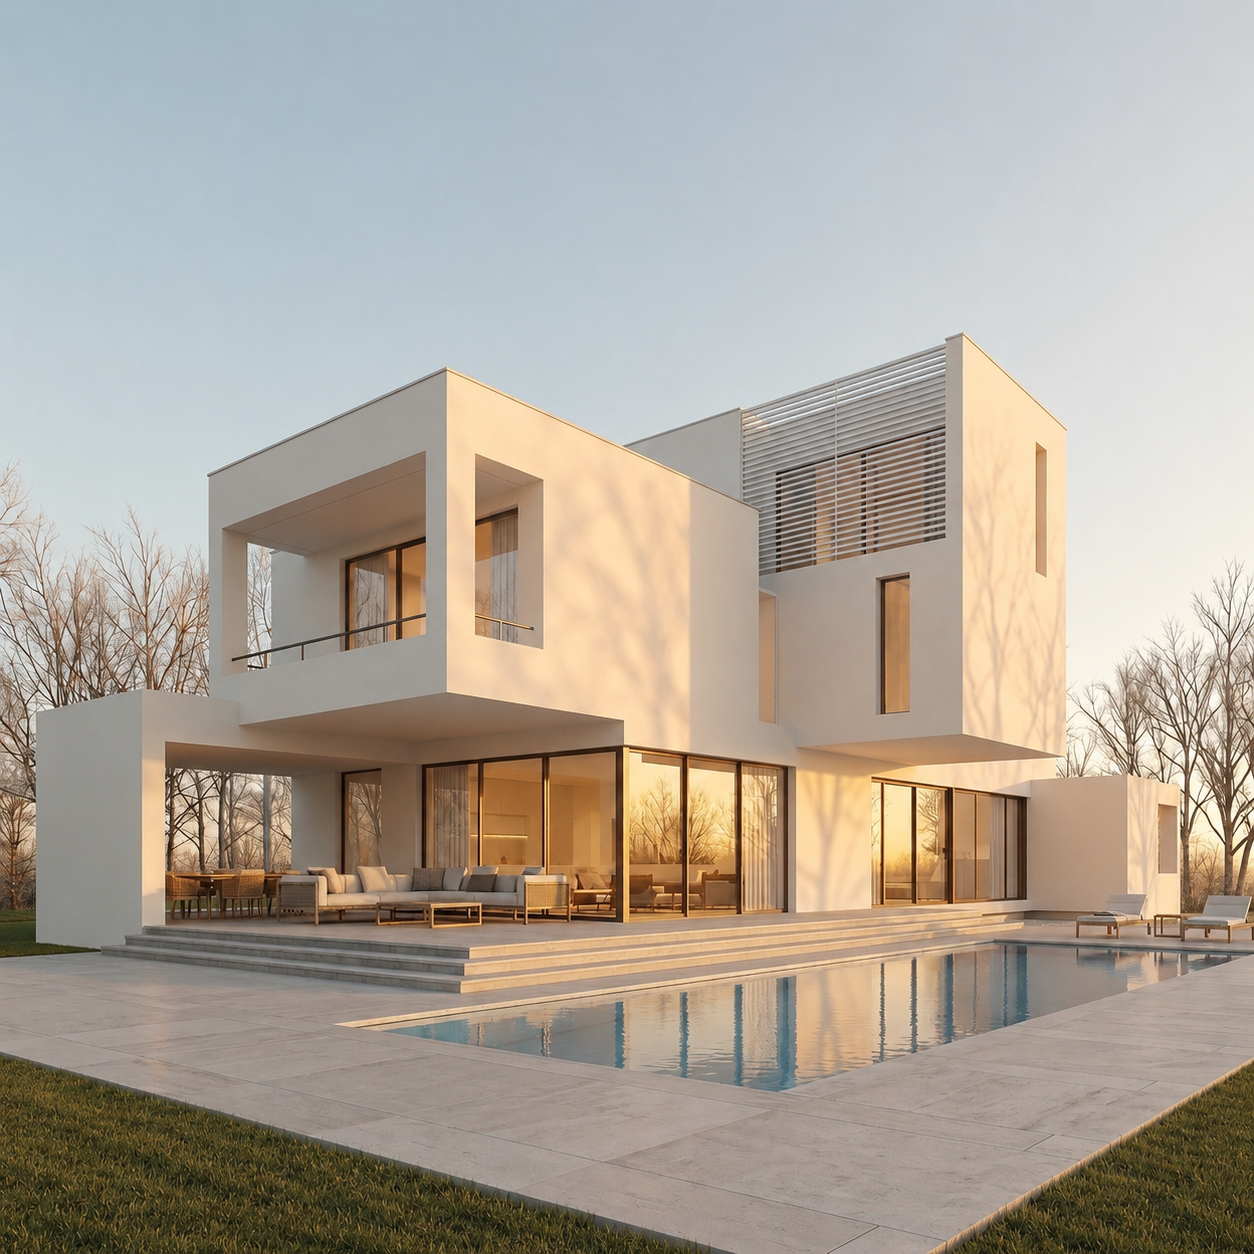 Figure 03. Golden hour sunlight creates stronger mood and direction
In our tests, golden hour is attractive but also easy to overdo. If the prompt uses too many words such as cinematic, dramatic, or intense sunlight, the lighting may overpower the architecture.
For this reason, we usually combine warm directional light with long soft shadows. This keeps the golden hour atmosphere while avoiding an overly filtered or unrealistic result.
Step 5 — Try winter morning light
The third lighting setup is winter morning light.
Compared with golden hour, winter morning light is cooler, clearer, and more restrained. It works well for minimal architecture, residential exteriors, and clean interior scenes.
winter morning light, cool clear daylight, crisp soft shadows, subtle reflections, quiet realistic atmosphere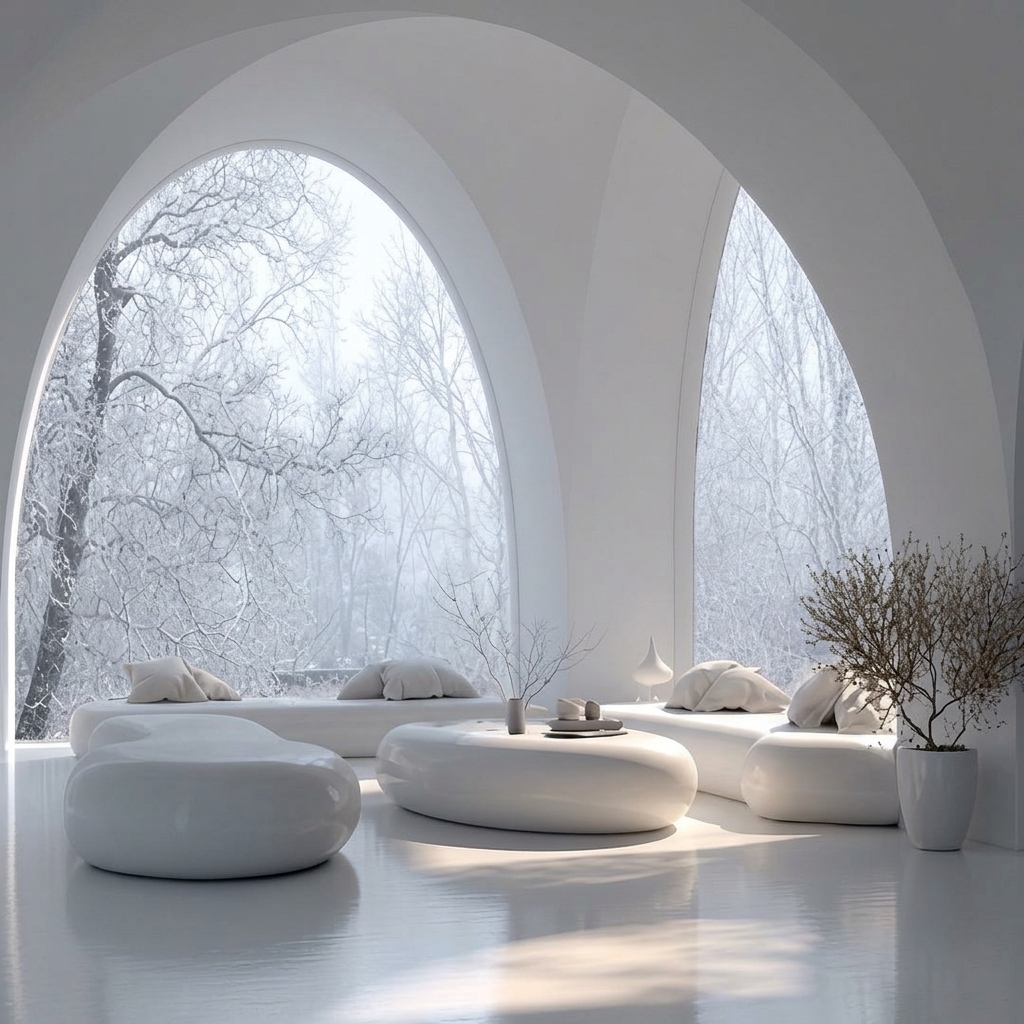 Figure 04. Winter morning light creates a calm and clear architectural atmosphere
We often use this prompt when we want the scene to feel clean but still realistic. White walls, exposed concrete, glass, and metal details can become more readable under this type of light.
The risk is that cool daylight can make the image feel too blue or too cold. To control this, we add quiet realistic atmosphere or subtle reflections so the scene feels clean rather than uncomfortable.
Step 6 — Try natural interior daylight with warm ambient light
For interior scenes, natural daylight alone is often not enough. A realistic interior usually needs a combination of window light, indirect light, and warm ambient light.
natural interior daylight, warm ambient light, soft indirect glow, realistic shadows, cozy high-end interior atmosphere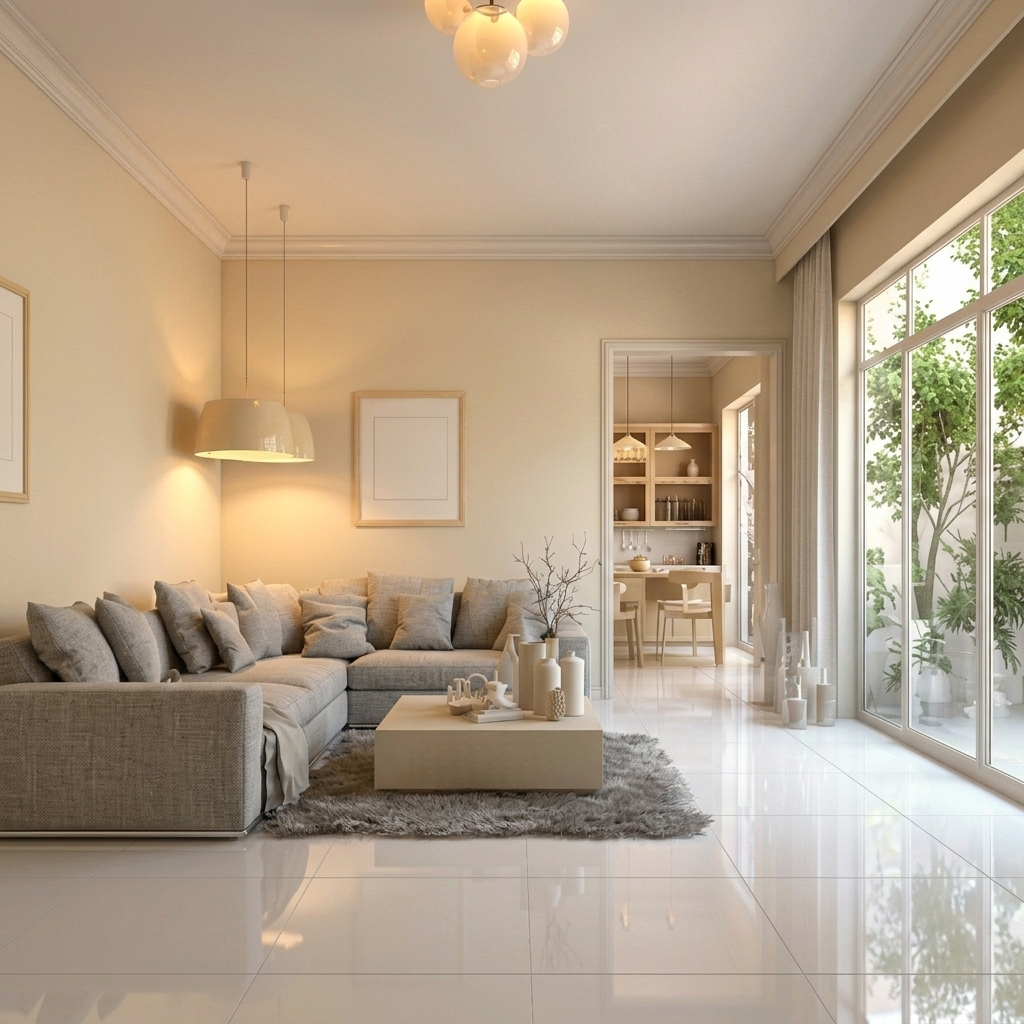 Figure 05. Natural daylight with warm ambient light makes interiors feel more comfortable
Avoid using only bright interior in the prompt. It may make the room brighter, but it often removes shadow depth, material contrast, and realistic reflections.
Warm ambient light works best when it supports the scene instead of dominating it. Too much warmth can turn white walls yellow, make wood look muddy, and reduce fabric detail.
Step 7 — Combine lighting prompts with control instructions
After testing different lighting types, we usually build the prompt with a simple structure:
- Lighting type
- Shadow control
- Reflection or material behavior
- Atmosphere
- Structure protection
For example:
soft overcast daylight, diffused natural light, low contrast shadows, realistic material texture, calm architectural atmosphere, preserve the original building structure, keep the same camera angleOr:
golden hour sunlight, warm directional light, long soft shadows, realistic reflections, cinematic architectural mood, preserve facade details, do not change the original designThis structure is more stable than stacking many adjectives together. It tells ReRoom what kind of light to create, how shadows should behave, how materials should react, and what part of the original image should stay unchanged.
What this workflow changes
Lighting prompts are not just about making an image brighter. They define where the light comes from, how shadows fall, how materials reflect, and what kind of emotion the space communicates.
ReRoom still requires manual review for lighting direction, shadow consistency, glass reflections, and interior-exterior color temperature balance. You may need to test several prompt variations before the result feels right.
But for early-stage proposals, this workflow helps designers quickly test different atmospheres and turn a minimal scene into a more realistic, high-quality visual.
Related posts
How to Edit Interior Renders with Nano Banana
AI interior editing is not just about making an image look better. It is about controlling what changes and what stays untouched.
Willy·Jul 30, 2026
How to Create Planting Design Boards with AI
A planting design board is not just a plant collage. It turns climate, water use, and atmosphere into a clear proposal direction.
Willy·Jul 24, 2026
How to Turn Static Renders into AI Walkthrough Videos
A static render can become more than a single image. With the right video prompt, it can turn into an immersive spatial walkthrough.
Willy·Jul 21, 2026